Tuesday 25 February 2014

Old and new WIPs

Having finished a few quilts recently, I felt in need of some cutting and chain piecing over the weekend.
I made a twofold promise to myself to try this year to use more of my stash and to finish some of my longstanding UFOs, so no time like the present, I thought.
Here is a glimpse of what I have been messing about with, both very much works in progress but very different:


First up, I have had this fabric in my stash for at least 10 years.  It was a small collection called Hope Chest by Springs International, and I wanted to make a quick and simple something just using the bundles of fat quarters I had. There were ten different fabrics, and I had about half a metre of each.


I chose Disappearing Nine Patch as it's a bit more interesting than simple squares but really fast to make. Here's a tutorial from Missouri Star Quilt Co if you haven't already come across this pattern.


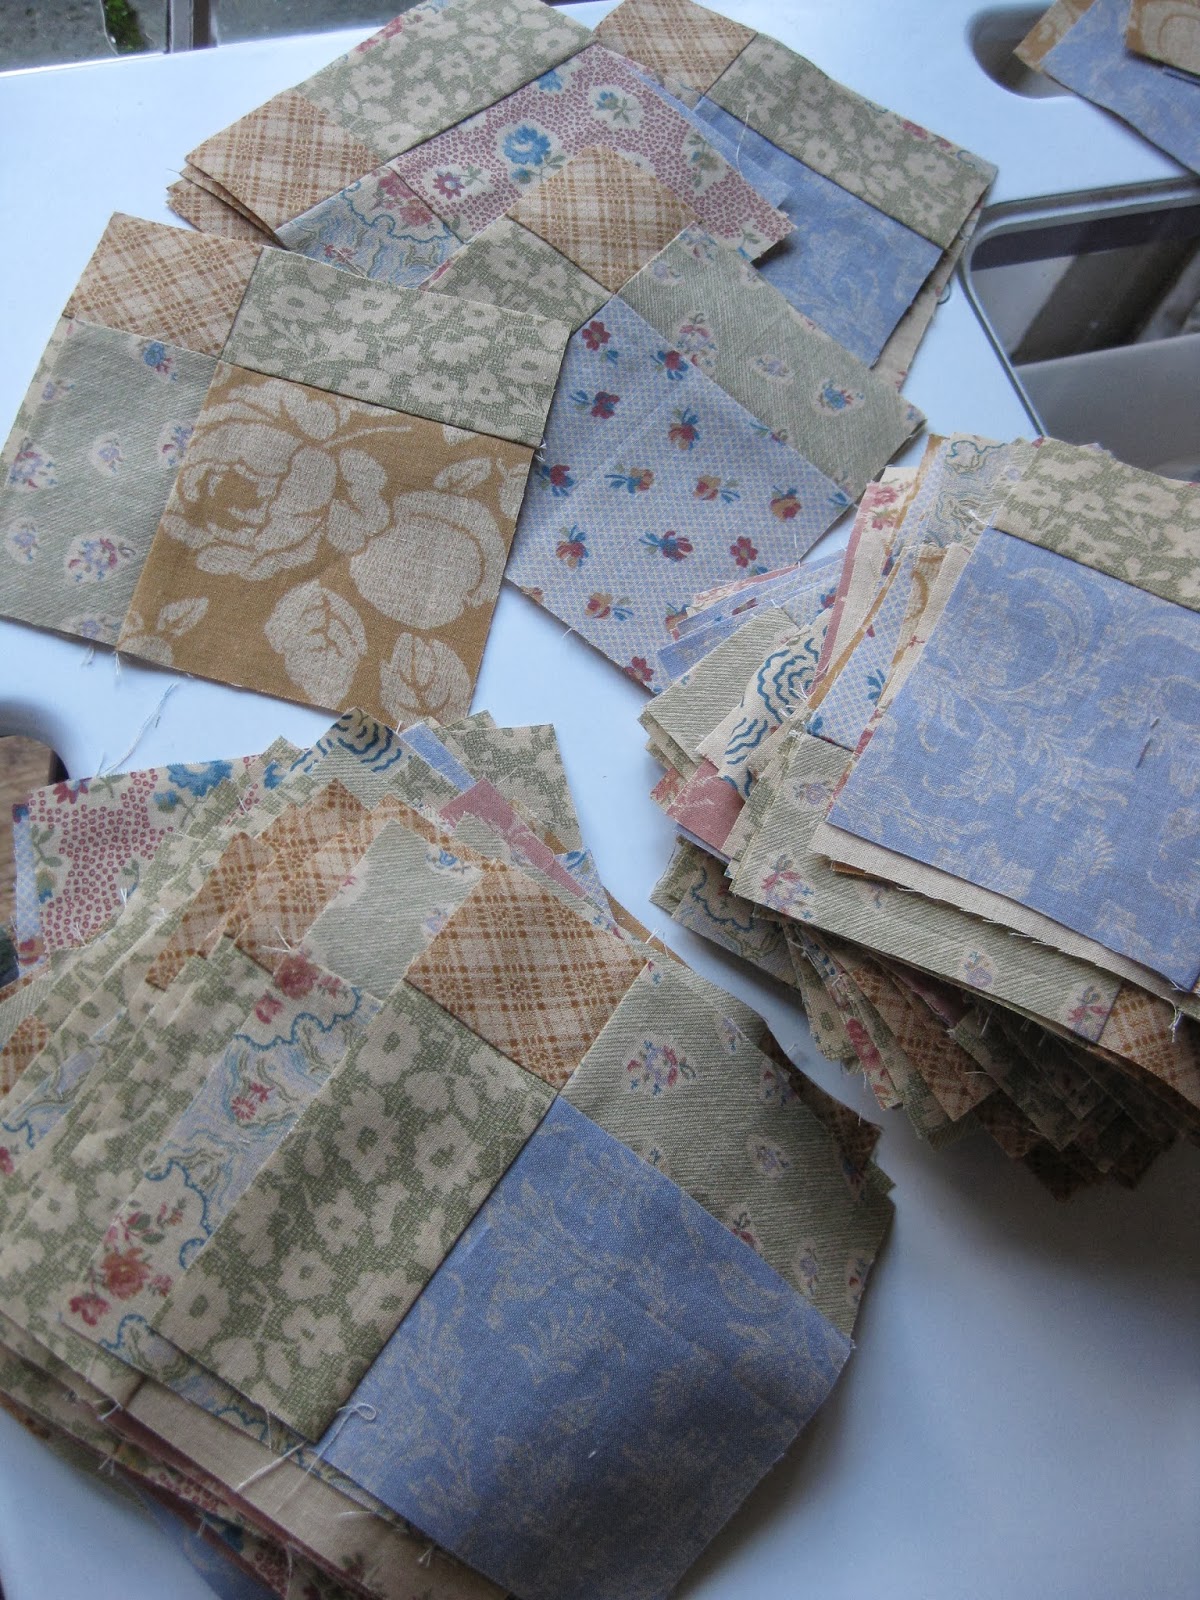
The speedy cutting, sewing and re-cutting was just the therapy I needed.  Now I have a great stack of pieces ready to lay out on the design wall.  Watch this space!


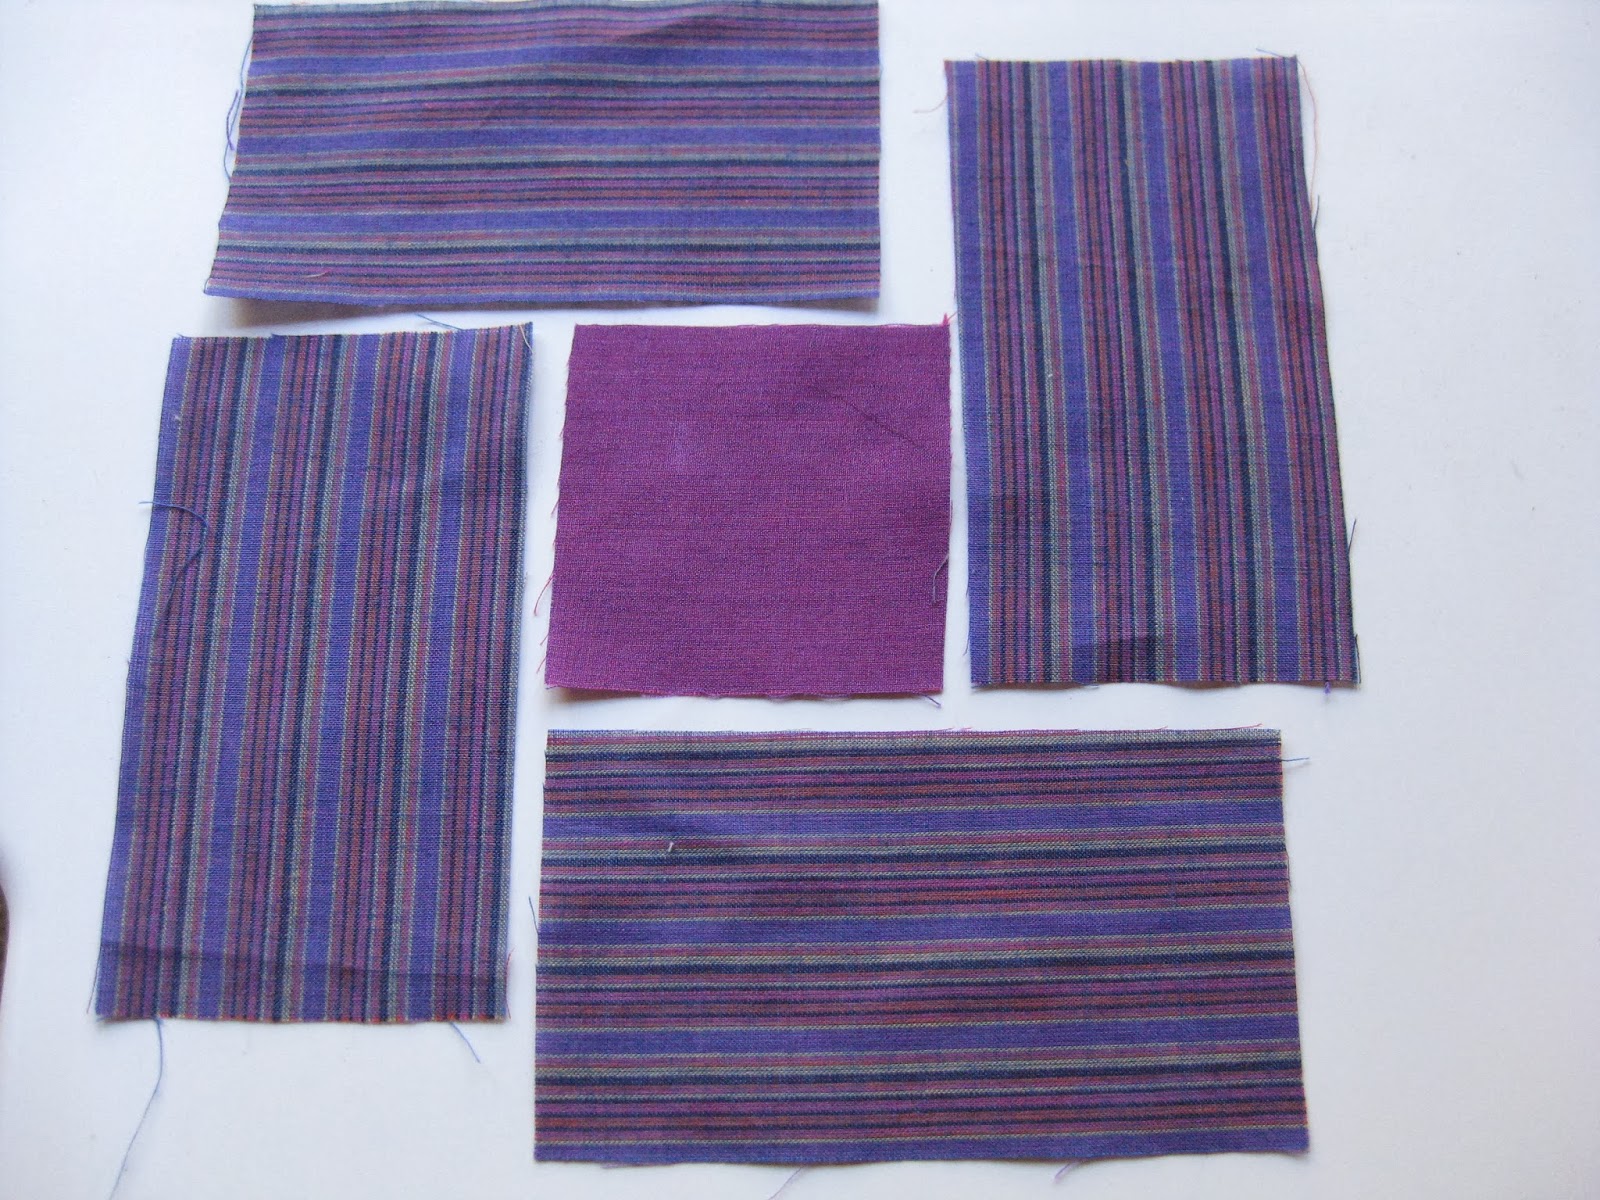
By contrast, the UFO I pulled out to progress has lots of small pieces which take ages to cut and stitch back together.  It is the Radiant Star Quilt from Marsha McCloskey's book Quick Classic Quilts - such a great book, such a great quiltmaker.  The block is described as the easiest of the Feathered Star variations!

I looked out my workshop notes and found that I started this quilt in a class in October 2002: I knew it had been a while but I was a little shocked to see just how long ago.  It's a good thing fabric doesn't go off! Well, I suppose it does in a way if you stop liking it, but fortunately I still really like the fabrics I chose for this quilt.


Anyway, in amongst all the speed piecing I found time for some unpicking and re-piecing.  One of the reasons I think I stopped making the blocks is that I found my points did not meet.  And as this is a block with high contrast fabrics and lots of points: they really do have to be pretty much perfect.  My stitching back in 2002 just wasn't up to scratch, as you will see from the photos above.

I plead a less than accurate 1/4" foot on my old Frister & Rossman Cub 7, and not enough care on my part. I think it took me quite a long time to grasp just why accurate stitching is so important for complex blocks, and once I had acquired my second-hand Bernina with its number 37 foot, that made a huge difference too.

The good thing about revisiting your past work is that you can congratulate yourself on how much you have improved!  It was an absolute pleasure to unpick those shockingly bad seams, press and re-stitch the pieces and find that this time it all fitted.  It hasn't been completely plain sailing though and I won't qualify for a gold star from Marsha (maybe a silver?) as there are still a few imperfections.  I have eight more blocks to make so I hope by the end to have fixed most of the problems.


A few years back I was lucky enough to attend a workshop on Feathered Stars by Marsha McCloskey herself when she visited to England, and she was truly inspirational.  She showed us how to draft the block and it was a mind-expanding journey into geometry.  Feathered Star blocks contain so many small pieces, they don't really fit in with the modern quiltmaking movement and the current vogue for pre-cuts, but they are a true test of skill and craft.  If you want to challenge yourself you need look no further, and I recommend Marsha's two books on the many variations of Feathered Star.


Now that I have shown you these WIPs I hope that will encourage me to press on with the piecing so that I can show you the finished tops before too long....  Your turn maybe to tackle something from the back of the cupboard?

Friday 21 February 2014

Hexagon honeycomb

A while ago I had a scrap bag of Moda strips from one of the Fig Tree ranges which I decided I really must use up - but what to make?  There wasn't a huge amount of fabric and it didn't really fit with other fabrics in my stash, but I had done my usual trick of buying on a whim at a show - it was packed in a brown paper bag (I'm a sucker for brown paper bags)....


To cut a long story short, I pieced the 1 1/2" strips into sections, three at a time, and used my Marti Mitchell triangle ruler to cut as many triangles as I could from the strip sets.

(Other 60 degree rulers do the same job and so do the 60 degree lines on the big rotary cutting rulers, of course; the purpose made triangle rulers just make the job a bit easier)

Each strip set gave me enough triangles to piece back into two hexagons and this little cot quilt is the result.


But that's not my finish for this week:  as you can perhaps see, the hexagons in the cot quilt are quite dinky (6" across the middle) and I wanted to offer the technique as a class so I thought I should make a bigger version.  Using just slightly bigger strips (cut at 2") made, I discovered, MUCH bigger hexagons - 9" across, and a much bigger quilt.


This is today's finish:


The fabrics are Lizzie by Anna Griffin from some time ago; leftovers from another quilt, needless to say, plus a bit from stash.  I always seem to buy far too much fabric for whatever I have in mind when I am in the quilt shop, and end up making two or even three quilts from the same range, but throw in something extra each time and it freshens the whole thing up.  A bit like cooking with whatever's in the fridge...


So I am delighted to say that all I have left now from this collection are a few strippy triangles for which I have plans, and some odds and ends which have gone into the scrap stash, destined for a truly scrappy final resting place.


The quilt measures 53" x 70" and I backed it with a Riley Blake design of tiny hexagons - they are in exactly the right shade of pink and aqua, and repeating the hexagon motif is just too good to be true!


I machine quilted both quilts with one of my favourite walking foot quilting designs which is a variation on wine glass/pumpkin seed, a very traditional hand quilting design.  However it is great for machine quilting too.

If you make a plastic template of a sort of leaf shape to fit the length of the 'radius' of the hexagon (or the length of one side of one of the triangles), you can mark curves on either side of every seam line, which you can then continuously quilt on the machine with the walking foot as the curves are quite gentle.


The brilliant thing about this technique is that you can start absolutely anywhere and keep on quilting till you run out of bobbin thread.  This means very few ends to tie in afterwards (a big plus so far as I am concerned) and you can choose which direction to go in to minimise the amount you will have to turn the quilt sandwich.


In effect you are quilting long serpentine 'S' shapes across the surface of the quilt top.  When all the lines have been quilted it creates the flower/circle effect.

This may not mean very much as described, but try enlarging the photo and tracing the design with your finger - you'll see how easy it is to travel across the quilt without lifting your finger.


So I am happy to share my finish with you this week.  I am up to date with all my class samples so now I can sew just for fun - and maybe tackle one or two outstanding projects from the back of the cupboard.

Have you finished something this week?  I'm linking up with Crazy Mom Quilts who always has great finishes!


I am also happy to share pictures of the first real day of Spring: here in Surrey, after a very long wet winter we had blue skies and sunshine today.  Isn't the hellebore a wonderful lime green?

Friday 14 February 2014

Up (or down) the Garden Path

My finish today is a quilt based on the one called Garden Path in Edyta Sitar's book, Friendship Triangles.


 I have admired Edyta's quilts for a while and, when my LQS stocked some of her Laundry Basket fabrics recently, I decided the time had come to challenge myself to try her technique for making half square triangles with pre-marked paper foundations, and to see whether I could mix batiks with prints as she does so successfully.

Below is a section of my finished quilt.  Apologies on two counts: first that I forgot to rotate the image before pasting it into my blog (one day I will be technically competent, I hope, but it's not today); secondly, the wet and windy weather still hammering Southern England has meant it is difficult to take outdoor pictures.  I hope to be able to post a better photograph of the whole quilt when the weather improves....


I absolutely loved making this quilt and can report that I have become completely sold on the paper method for perfect 2" (finished) HSTs.  It was a great way to plunder my stash and use lots of different fabrics and backgrounds for the HSTs.   I have a few HSTs left over so it feels like I already a starter for another of Edyta's great 'traditional with a twist' designs.

With the exception of the luscious large floral to set the colour palette and a few batiks, the quilt is made entirely from stash.  I made it a bit bigger than the one in the book: it measures 78" x 100" and my friend Susie longarm quilted it for me with a flowing floral design in a dark cream.  Most of the piecing was done before Christmas so it was great to get it back from Susie this week and handstitch the binding today for a Friday finish!


 The quilt reminds me of gardens and flowers, and better weather, and I really like the contrasting textures of the prints, checks, spots and batiks.  I would not previously have put batiks with anything except other batiks, so thank you, Edyta, for inspiring me to try something new.

I will be linking up with Crazy Mom Quilts (I hope!).  Have a great weekend.

Tuesday 11 February 2014

Little Oakshott Boxes - partial seaming

Oops, after all the rushing around last week I forgot to link my last post to Crazy Mom Quilts after all.  I will try for a finish this Friday, but in the meantime I promised a tutorial on partial seaming for the Little Oakshott Boxes quilt I blogged about here.


This is my first attempt at a blog tutorial so please bear with me, and any helpful feedback would be much appreciated.  So here goes:


I have chosen to use one of the striped fabrics for the example so that you can see clearly how the strips attached around the centre square are all of the same length, and I have used a cream thread so you can see the stitching lines.


You will need one 2 1/2" square for the centre of the block and four 2 1/2" x 4 1/2" rectangles.  The block will measure 6" finished (centre square and outer strips will all measure 2" finished).


Lay out the block as shown in the first photo.  You now have a choice: you can work clockwise starting with the strip to the left of the centre square, or you can work anticlockwise in which case you will first pick up the strip to the right of the centre square. 

Whichever you choose to do you must be consistent with all the other blocks you make as they will 'spin' in different directions (see later photos).


The following photos show the sequence of working anticlockwise: you will have the strip on top of the square as you sew.  Line up the top edge of the first strip (the one to the right of the centre square) with the top edge of the centre square and stitch with a 1/4" seam from the top edge to about half way down the square (in the left hand picture I have shown the square on top so you can see where to stop stitching but you will actually stitch with the strip on top).


Finger press the seam allowance away from the centre square and lay the piece back in position on the table. Flip the top strip on top of the piece, lining up the left hand edge of the strip with the edge of the square.
Stitch from that edge along the full length of the strip.  Finger press away from the centre square.


Return the piece to the table and line up the third strip so that the lower edge is in line with the edge of the square.  Stitch from that edge along the full length of the strip.
Fingerpress away from the square.


Repeat for the fourth strip, lining it up with the remaining edge of the centre square (you may need to hold the partially pieced first strip out of the way) and stitch along the full length of the strip.  Finger press away from the centre as before.


Finally you have to join up the partial seam.
Lay the pieced edge back against the remaining length of the very first strip, making sure it lies flat.

I do like to pin at this stage to make sure there are no little puckers when I stitch.  When you have stitched the last seam, fingerpress away from the centre square and then take the block to the ironing board for a proper press.


The following pictures show the order for piecing if you want to work in a clockwise direction, starting with the strip to the left of the centre square.


You will see from this picture that the blocks 'spin' their seams in different directions.  Make sure that you are consistent and always piece in the same order: no right or wrong, just a matter of preference.
I have included this photo of the back of the blocks to show you the pressing of the seams away from the centre square.  Where there are thread tails, that is where the final  partial seam was stitched and the block completed.


If you have two matching Charm packs of 5" squares these will yield your four outer strips, so you will just need to add the centre squares from your stash.  Or you can chop up a Jelly Roll or other strip roll.  These little blocks are really quick to do if you use pre-cuts.


Note: I think I may have inadvertently deleted this post from its original place. I believe it was originally posted on 11th February 2014 (2/11/14) but I cannot find it except as a draft.  So I have republished now.
Gosh, where have the past 6 years gone....


Saturday 8 February 2014

Washington Log Cabin

What a week - all a bit fractured, fragmented with various things, so not as much to post about as I had hoped.  Mind you, doing a bit of sewing in between all the rest of it was my quiet centre, time to think or not to think.  The more I sew, the more important it is to me - how do you feel about it, where you are now?


So my finish today is my Washington Log Cabin, so called because it is predominantly made with leftover fabric from the Washington Medallion Block of the Month, which was my very first post (here).  I also blogged about the Log Cabin here and in my last post.  I finally finished hand sewing the binding, and although it is not such a surprising finish, as you have already seen the WIP, I am still delighted to be able to put the quilt on our bed at last.  As is was too wet to hang it on the washing line for a photo, my son is holding it up folded in four - sorry, best I could do.


 I love the feather quilting my longarm quilter friend Susie did for me.  I think I may be revisiting Log Cabin again before too long - it really does help bust that stash!


Apart from that, I have squeezed in a little chain piecing, making sample blocks for my Indigo Dreams class in a different colourway.  I have used some Judie Rothermel/ Marcus Briothers reproduction fabric from a long time ago (the Regency Collection according to the selvage) with Jo Morton shirtings.  The block is called Broken Dishes, even though it is not the same as the one more commonly called by that name.


I have also been playing with some leftover half square triangles from another quilt I made a while ago from Fig Tree fabrics.  I hate to throw away anything I have cut and stitched, even if it is surplus to the project it was cut and stitched for (well, I hate to throw anything away fullstop...), so I trimmed the HSTs to 2 1/2" and wondered what to do with them and the remaining chunks of fabric.  I decided to have a go at the anvil block, not too complex, focus on the HSTs and not too  much else required.  Will keep you posted.


I'm linking to Crazy Mom Quilts even though it's Saturday morning here in England: we lost our internet connection last night because of the storms so I couldn't post then.  Hope this is within the rules, or at any rate the spirit, of Finish it up Friday!